Step 2
Wet the soap and rub it inside the
plastic box to form a non-stick layer.
If you do not have a plastic box then
line a small cardboard box with
polythene. This does not need soap.
Next, lay your perfect pot-rest in the
box.
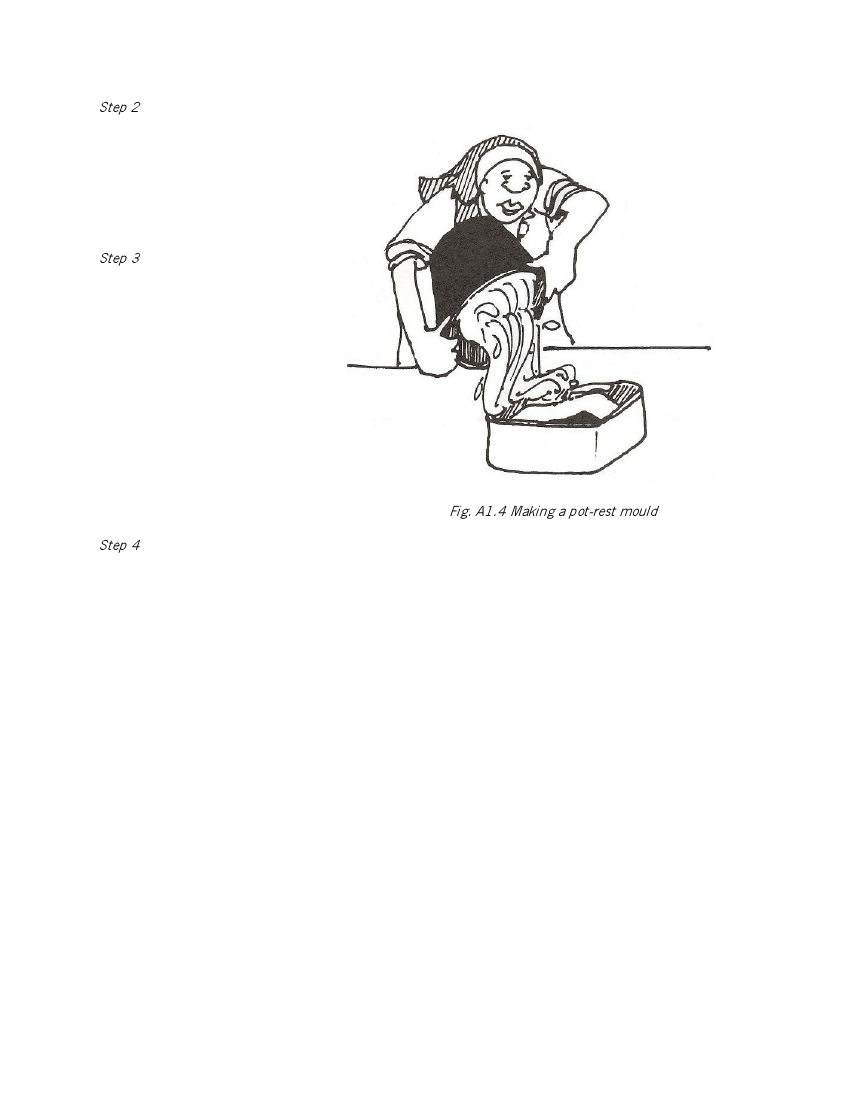
Step 3
Mix the cement and sand together
and add sufficient water to make a
thick mixture that can be poured.
Pour the cement mix over the potrest
so that it is completely covered, then
add to a depth of about 10 mm. Tap
the box gently to release any air
bubbles in the cement.
Fig. A1.4 Making a pot-rest mould
Step 4
Leave the cement to cure (harden), but keep it wet for two days to make it stronger. Let the mould dry out,
remove it from the box, and remove the clay pot-rest from the mould. There is your pot-rest mould!